
 No Comments
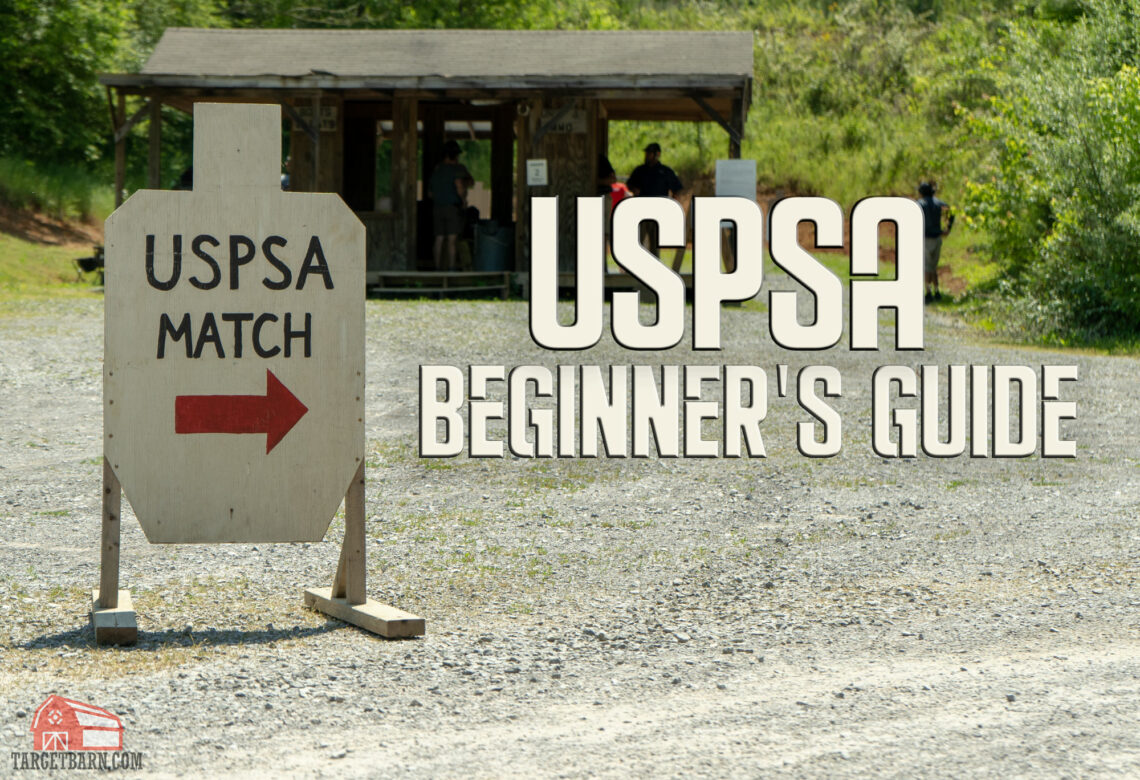
 If you enjoy shooting, but are getting bored putting the same holes in the same static paper at your local indoor range, perhaps it’s time to give competitive shooting a try. A great place to start is USPSA — the United States Practical Shooting Association.
What is USPSA?
USPSA refers both to the sport as well as the name of the governing body over the sport – the United States Practical Shooting Association. It is the most popular practical shooting sport with approximately 38,000 members.
USPSA vs. IPSC
USPSA is a member of IPSC – the International Practical Shooting Confederation. IPSC is an international sport which began in the US in 1976. Legendary firearms trainer Col. Jeff Cooper served as the first IPSC President. Eventually, countries began forming their own organizations under the IPSC umbrella. USPSA incorporated as the US Region of IPSC in 1984.
Do I need to be a USPSA Member to Shoot a Match?
Both members and non-members can shoot in Level I (local) USPSA matches. I’d wait until you’ve shot your first match to make sure it’s a sport you’ll want to continue with before joining. A 1-year membership is currently $40.00 per year and you can sign up on the USPSA website.
Are You Ready for USPSA?
USPSA has a foundation in developing the skills necessary for defense with a firearm. So, before you attend your first match, you should do a realistic assessment of your current skill level. You can’t really participate in USPSA unless you can safely perform the following:
- Draw from a holster
- Perform a reload
- Shoot while on the move
Drawing from a Holster
This may sound like a no-brainer, but understand that for many shooters, the only place they have to practice is a local indoor range that does not allow drawing from a holster. If this is something you’ve never done, at a minimum you’ll want to practice in dry fire prior to your first match.
Performing a Reload
This is another skill that, depending on the available range facilities, you may not have had the opportunity to perform or practice in live fire. But you can count on having to perform at least one reload on any USPSA stage.
Moving and Shooting
If you’ve never taken any sort of a training class on how to move and shoot with a firearm, you may not have this particular skill set. You can’t exactly move around much in the stalls at most indoor gun ranges – the only place that many people go to for their practice.
You can find instructional YouTube videos that will help with all of these skills. However, I strongly recommend learning them from a qualified firearms instructor in a structured training class.
You don’t need to be particularly good at any of these skills to start. You just need to be able to be able to perform them safely. “Safely” can be defined as performing the task while keeping the muzzle of the firearm pointed in a safe direction down range, and not causing a negligent discharge of the firearm in the process of performing the task.
USPSA Safety Rules – Don’t Get DQ’d

Just like any sport, USPSA has a rule book that you should look over before your first match. In order to keep the match safe, there are a number of a basic safety rules listed in the rulebook. Breaking one of those rules will result in a disqualification and potentially put other shooters in danger. You should be aware of those rules before you shoot your first match. Some of the big ones are the 180 rule, trigger finger placement, and negligent discharges.
The 180 Degree Rule
Often referred to as “The 180,” this rule is a fundamental rule for safe gun handling.
Imagine you are standing with your toes on the start line of a USPSA stage. Now imagine that line your toes are standing one extends infinitely in either direction – creating a line across the entire bay in which your shooting. If you’re holding your firearm directly in front of you, the muzzle of your firearm cannot move further than 90 degrees to your right, or 90 degrees to your left – creating a total of 180 degrees of “safe” handling area.
That imaginary 180 degree line moves with you as you move through a stage – the range officer that runs you through a stage will be watching closely to see that the muzzle of your firearm does not cross that imaginary 180 degree line. It’s best (particularly when you’re first starting out) to stay well in front of that 180 degree line on either side of you as you move through a stage.
Breaking the 180 can result in a match disqualification (DQ) – it’s one of the more common rules violations. A handful of people will get a 180 DQ at any given match – it happens.
Trigger Finger Placement
Your finger should be outside the trigger guard when you are moving through a stage between targets. When you engage a target, your trigger finger goes in the trigger guard area and takes the shots. It then comes right back out and indexes along the frame of the firearm. This is something else an RO will be watching as they run you through a stage.
Negligent Discharges
If your finger is outside of the trigger guard area at all times until the firearm is on target and ready shoot, no negligent discharges should occur… yet they do. ND’s are commonly seen on the draw, while moving between targets, or while transitioning between targets. Use special care during these situations.
If you think about injuries and deaths that happen in other sports like football or baseball, it might surprise you to know that USPSA is statistically safer. Firearm related injuries or deaths in USPSA are almost unheard of – because of strict adherence to these safety rules.
What Gear Do I Need?

The exact gear you will need to shoot your first USPSA match will largely depend on your division. Select a division that will allow you to use as much gear and equipment that you already have. Don’t buy a new firearm and other gear until you’ve shot enough USPSA matches to know whether you like the sport and better understand what divisions appeal to you. You’ll also make friends in those other divisions who will be more than happy to let you try their gear.
The basic gear you need is:
- Protective ear and eyewear
- A belt
- An outside-the-waistband holster
- Magazine carriers
- A pistol pouch or bag
What Gun do I Need?

USPSA has seven divisions you can compete in: Open, Limited (and Limited 10), Production, Single Stack, Revolver, Carry Optics, Pistol Caliber Carbine. Each division has its own set of rules and allowed guns and gear. We’ve previously covered the USPSA Divisions – check it out for an overview of each.
Starting in Production or Limited makes sense for most new shooters. A 9mm pistol like a Glock and three to four magazines will get you through a match in either division.
If you shoot a firearm that has a red dot optic, Carry Optics may be a better starting place. Carry Optics also allows you to load magazines to their capacity, as opposed to the 10-round limit in Production.
USPSA’s lone rifle division is Pistol Caliber Carbine. It can be a tough division for new shooters who don’t have experience moving and shooting with a PCC.
How Many Magazines Do You Need?
How many magazines (and magazine carriers) you need will depend on the division you are shooting. No USPSA course of fire will require more than 32 rounds to complete. The “gotcha” here is you may need more rounds to make up any shots you miss. Each cardboard USPSA target requires 2 shots. Steel targets require only one shot – assuming you hit it on the first try. That’s a big assumption for even the best of shooters. So, plan on having a little extra ammo because you’ll likely need to make up some shots.
USPSA has many division related restrictions on things like placement of the holster, the magazine carriers, the length of magazines. Review those division specific rules in the USPSA Rulebook prior to your first match.
How to Sign Up for a USPSA Match

If you have the minimal required skills and gear, your next step will be to locate a match. The USPSA website can help you find local matches. Most USPSA matches also use a website called PractiScore for both match registration and for post-match results. It’s a good idea to register for a match on PractiScore as many matches no longer allow in-person registration. Many matches fill to capacity prior to match day. The match announcement on PractiScore should also have some useful information with regard to round count (bring a little extra ammo beyond the stated round count), the contact information for the Match Director, the time to arrive, and the facility address.
What to Expect at the Match

The night before the match, have your gear packed up and ready to go. I recommend loading your magazines with ammunition. Just don’t put them in your pistol pouch or in your gun.
Every USPSA match will have a Safety Table. It’s the one place at the match where you can handle your firearm while not under the direction of the Range Officer (RO). You can put on your gun belt, take your pistol bag with your pistol inside it to the Safety Table, remove it from the bag and place it in your holster – all the while ensuring the firearm is pointed in a safe direction. You are NOT allowed to have ammunition at the Safety Table. So again, make sure you don’t have any loaded magazines in your pistol bag when you go to holster your firearm.
The first thing you’ll want to do when you arrive to the match is find the Match Director and let them know that you’re shooting your first match. The Match Director will have you attend a pre-match “new shooters briefing” before the general “shooters meeting” before the match starts. The Match Director may also squad you with some experienced shooters who can help you through your first match.
Setting Expectations
At your first match, you should have two goals:
1) Don’t get DQ’d, and
2) Have fun.
You’re not going to win the match, or even your division – so don’t try. Just focus on being safe and enjoying yourself.
After you have a couple of matches under your belt, you can begin trying to better your performance, improve your score, and compete with the people in your squad. Plan on coming in dead last at your first match and being thrilled with doing so.
Match Etiquette
If you REALLY want to impress everyone at the match, help reset the stage after each shooter. There are no paid staff at USPSA matches – everything that happens at the match happens because of volunteers. After each shooter, grab some pasters and paste up targets (only after the RO has scored them). Grab a paint can and repaint any steel targets. More hands, less work – you’ll make a great impression by not waiting to be told that you need to help. No one will remember who won or lost a local match. However, you do remember the guys that didn’t help reset stages.
Shooting a Stage – What to Expect

Each stage of the match will have at least one Range Officer (RO). At the beginning of each stage, the RO will read the stage briefing to the squad. The stage briefing is a general description of what the shooter must do on each stage. It includes the round count and any stage specific procedures or guidelines. Pay very close attention during the stage briefing and don’t be afraid to ask questions. The RO will also read the order that competitors will shoot. Pay attention and be ready to come to the start position ready to shoot.
Stage Walk Through
After the stage briefing is read, competitors have the opportunity to do their walk through of the stage. During the walk through, identify the number of targets and their locations. USPSA does not dictate the order in which you shoot targets on a stage – it’s entirely your choice.
Your goal for your first match should be to run each stage in a way that will allow you to most easily find and shoot each target. This may not be the fastest or most optimal way to run the stage. You can also plan the places on the stage where you want to make your reloads. But again, just try and determine where all the targets are during your walk through, and the path you intend to take to shoot them.
You might forget to shoot some targets when you’re first starting out. It happens to experienced shooters as well.
Range Commands at the Firing Line
Once you’re on the firing line the RO will issue the following standard range commands:
- “Make ready” – at this point, you can remove your firearm from the holster, load a magazine, and make the firearm “hot” by racking a round into the chamber. You can also, if desired, take a sight picture, and orient your body optimally to draw on the first target. When the RO believes you’re ready, they will proceed with the next range command.
- “Are you ready?” – If you are, you can nod or do nothing at all and the RO will assume you are. If you’re not ready, clearly state that you are not ready and the RO will wait until you are.
- “Standby” – if you don’t object when asked “are you ready?” the RO will proceed to “standby…” which means that the RO will be starting the timer. When you hear the “BEEP!” you can draw and begin shooting the course. The RO will stay in fairly close proximity to your position so they can observe that you are 1) keeping your muzzle pointed in a safe direction, 2) not violating any stage procedural rules and 3) keeping your finger out of the trigger guard when moving from position to position.
- When the RO believes you’ve fired your last shot on the stage they will state “if you are finished, unload and show clear.” When the command is issued, remove your magazines from your firearm, and place it back on your belt in a magazine carrier. Then, ensuring the firearm is pointed in a safe direction, rack out the round that is in the chamber. Don’t try to catch it or even worry about picking it back up. Holding the slide back and keeping the gun pointed in a safe direction, show the RO that the chamber is empty and therefore safe.
- When you show the RO and empty chamber they will state “If clear, hammer down and holster.” Let the slide of the firearm go forward, and point the gun down range in a safe direction and pull the trigger to demonstrate there the chamber is indeed empty in your firearm. Once done, re-holster the firearm.
- When the shooter has re-holstered the firearm the RO will loudly state “range is clear!” This is the signal that it is safe to reset the stage. The RO will then begin scoring all targets on the stage. Walk with the RO to see your targets and to learn how they are scored. You can also see where you did well or made mistakes.
The scoring system can be a little confusing for new shooters, which is why we’ve previously covered USPSA scoring. After you’ve completed your stage, reload your magazines so you’re prepared for the next stage. The rule of thumb is that if you’re not shooting or reloading, you should be helping to reset the stage.
Go Shoot a Match!

If you follow these guidelines, you should have a safe and enjoyable first USPSA match. If, however, you do get DQ’d during your first match, don’t get discouraged. You certainly would not be the first person to get DQ’d at their first match. Don’t pack up and go home if that happens – stay to help reset stages and observe other people running stages. You’ll gain valuable insight and respect from the other shooters.
My final advice is to review the USPSA rules prior to your first match. Some will be implicitly clear, and others less so. You won’t have the frame of reference for understanding the rules until you have a couple matches under your belt. But a cursory review of the rules will certainly help.
I hope you enjoy your first match!